Friday, July 27, 2012

Window Painting: An octopus


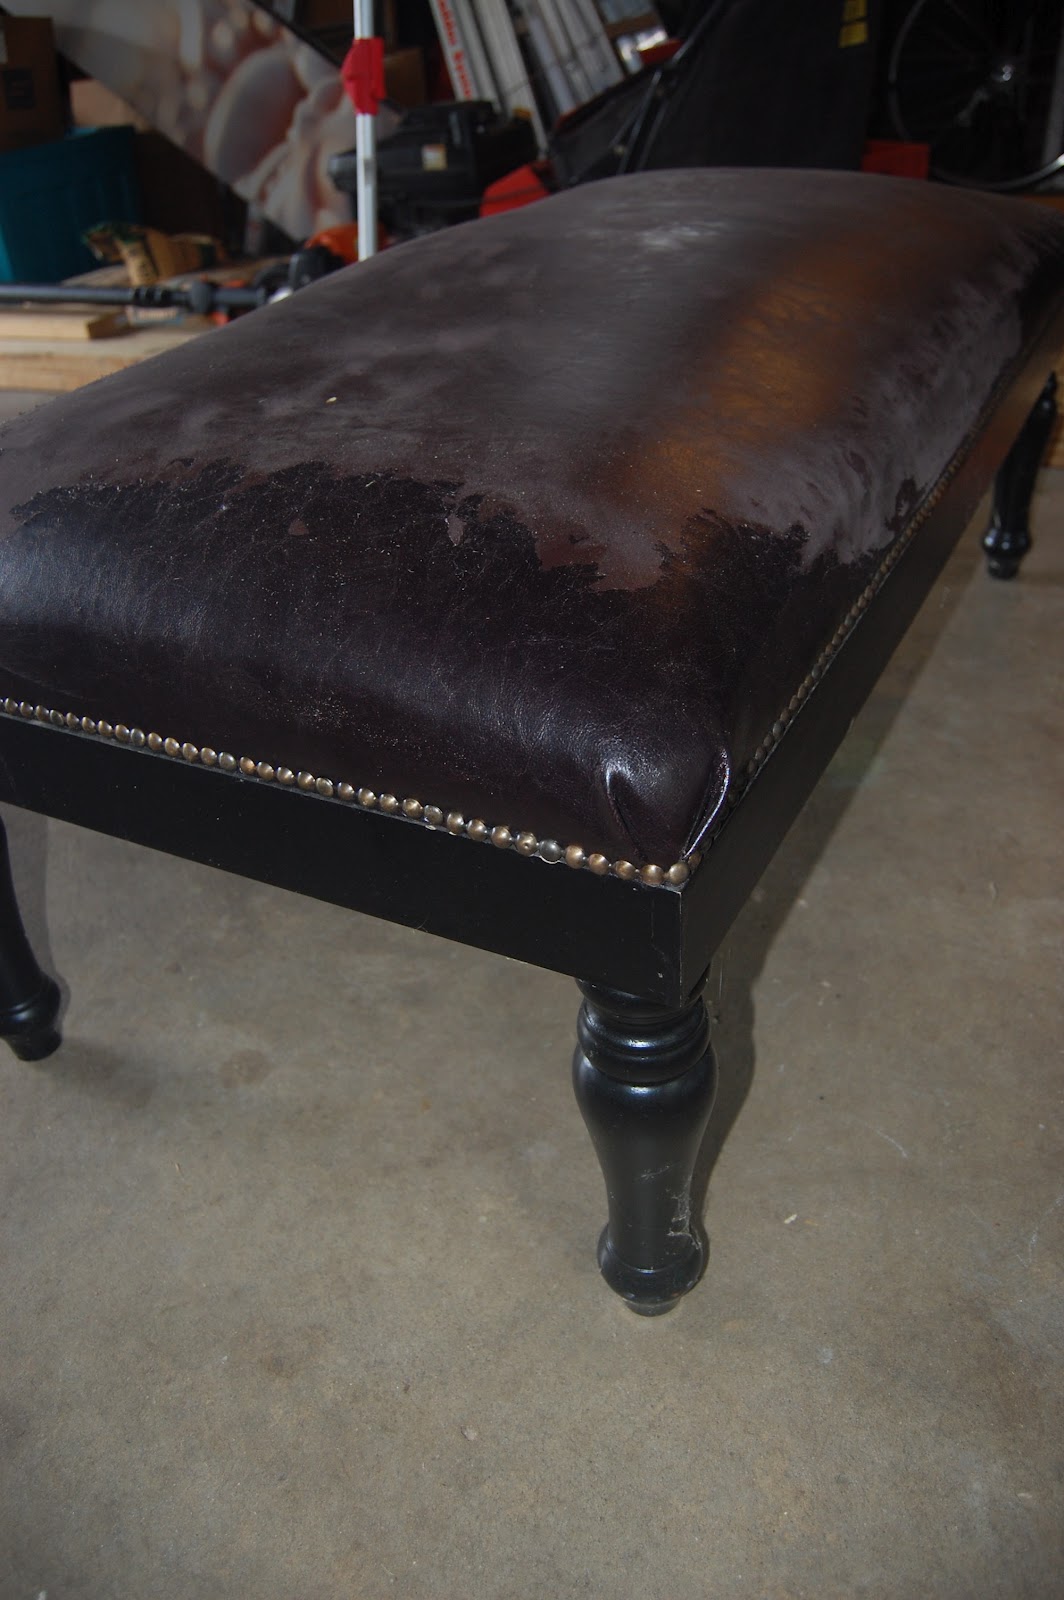
A while back I purchased an old window frame hoping that one day I would find something cool to do with it.  I purchased the frame at an antique store.  There was a nice selection of windows of all sizes.  I purchased mine for $8.

I've seen people paint on windows and I wanted to try it.  The tricky part is you have to paint backwards!  Basically you have to figure out the layers of colors and start from the top layer and work backwards.  I only used 2 colors so this was not difficult.

First I had to clean my frame.  These frames are usually stored in garages or outside.  I found 4 spiders! I used wipes and window cleaner.  I had to be gentle so that I wouldn't chip more paint off.  I liked to weathered look so I didn't want to paint the frame.  


Next I found a picture that I wanted to paint.  I put it into 3 sections on the computer so  would have an idea of proportion.  If I tried to free-hand there was a good chance I would screw up!

Here is my picture I chose to copy


My picture wasn't square so I had to squeeze it into a square shape then divide it into thirds. 
I am not an artist.  So here is my secret...
I used a dry erase marker!  

You can draw anything and wipe it away if you don't like it. 


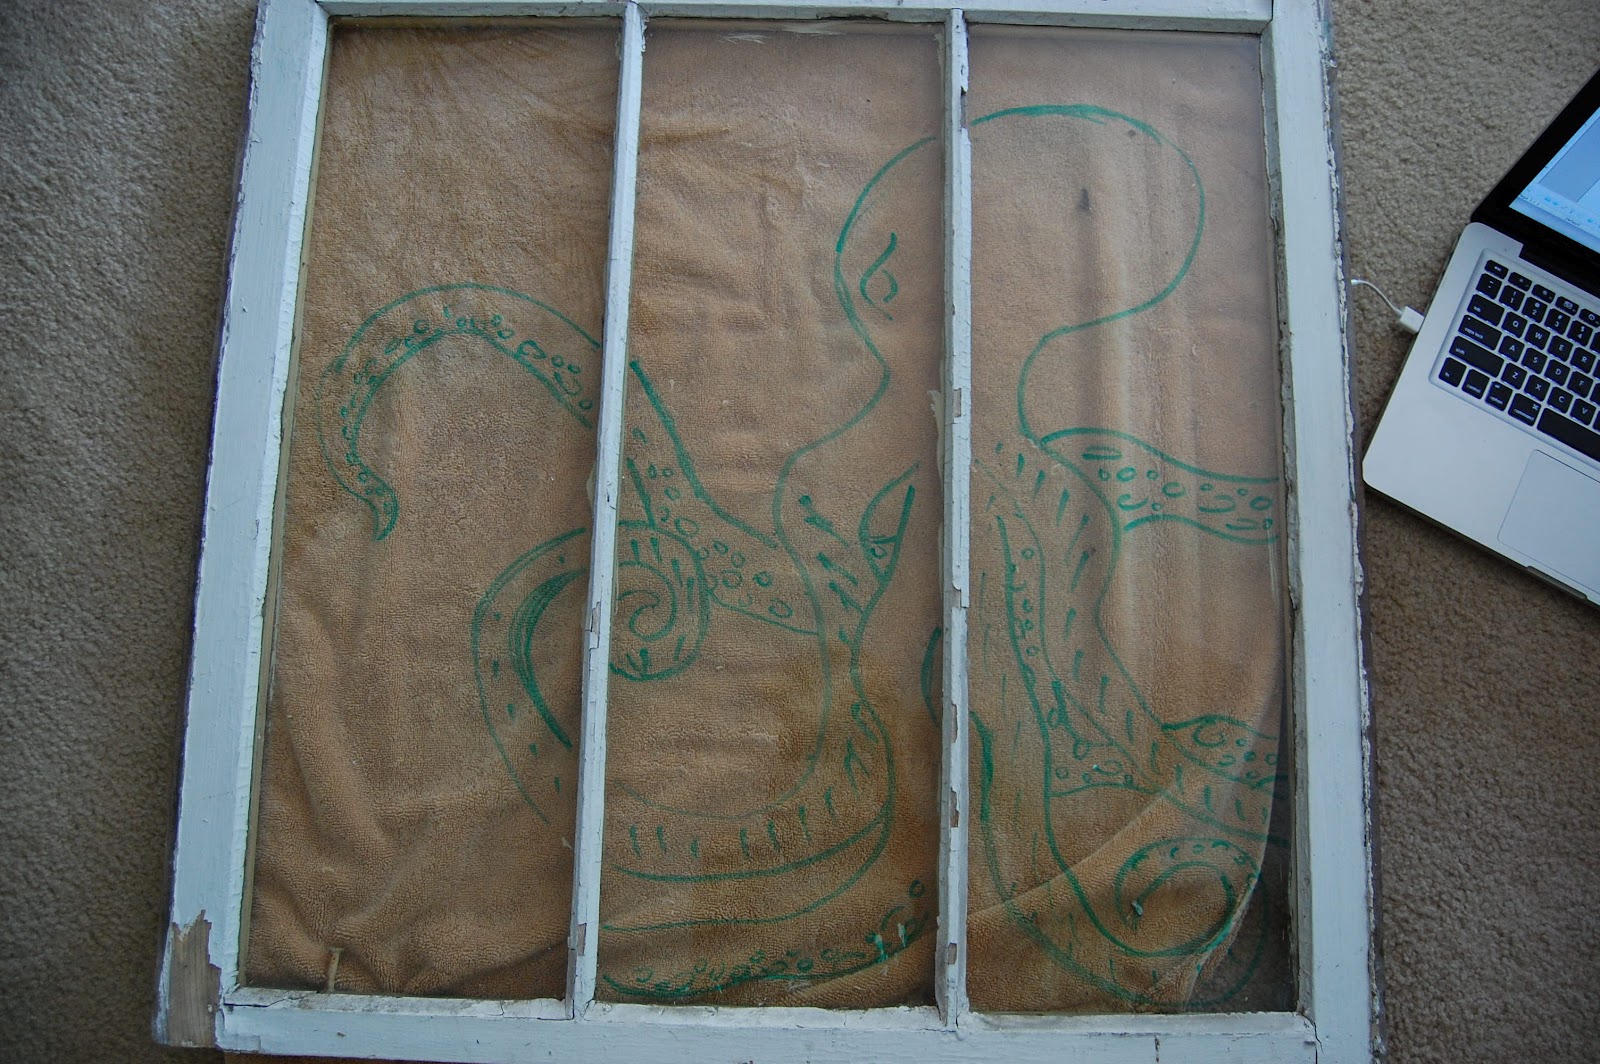
After I completed my marker drawing (on the front side) I was ready to paint (on the back side)

I used 2 types of brushes- a small brush for the lines and a sponge brush for filling in the larger areas. 


I started painting on the backside of the frame. I painted the outline of my picture first.  I used black... then I changed my mind.


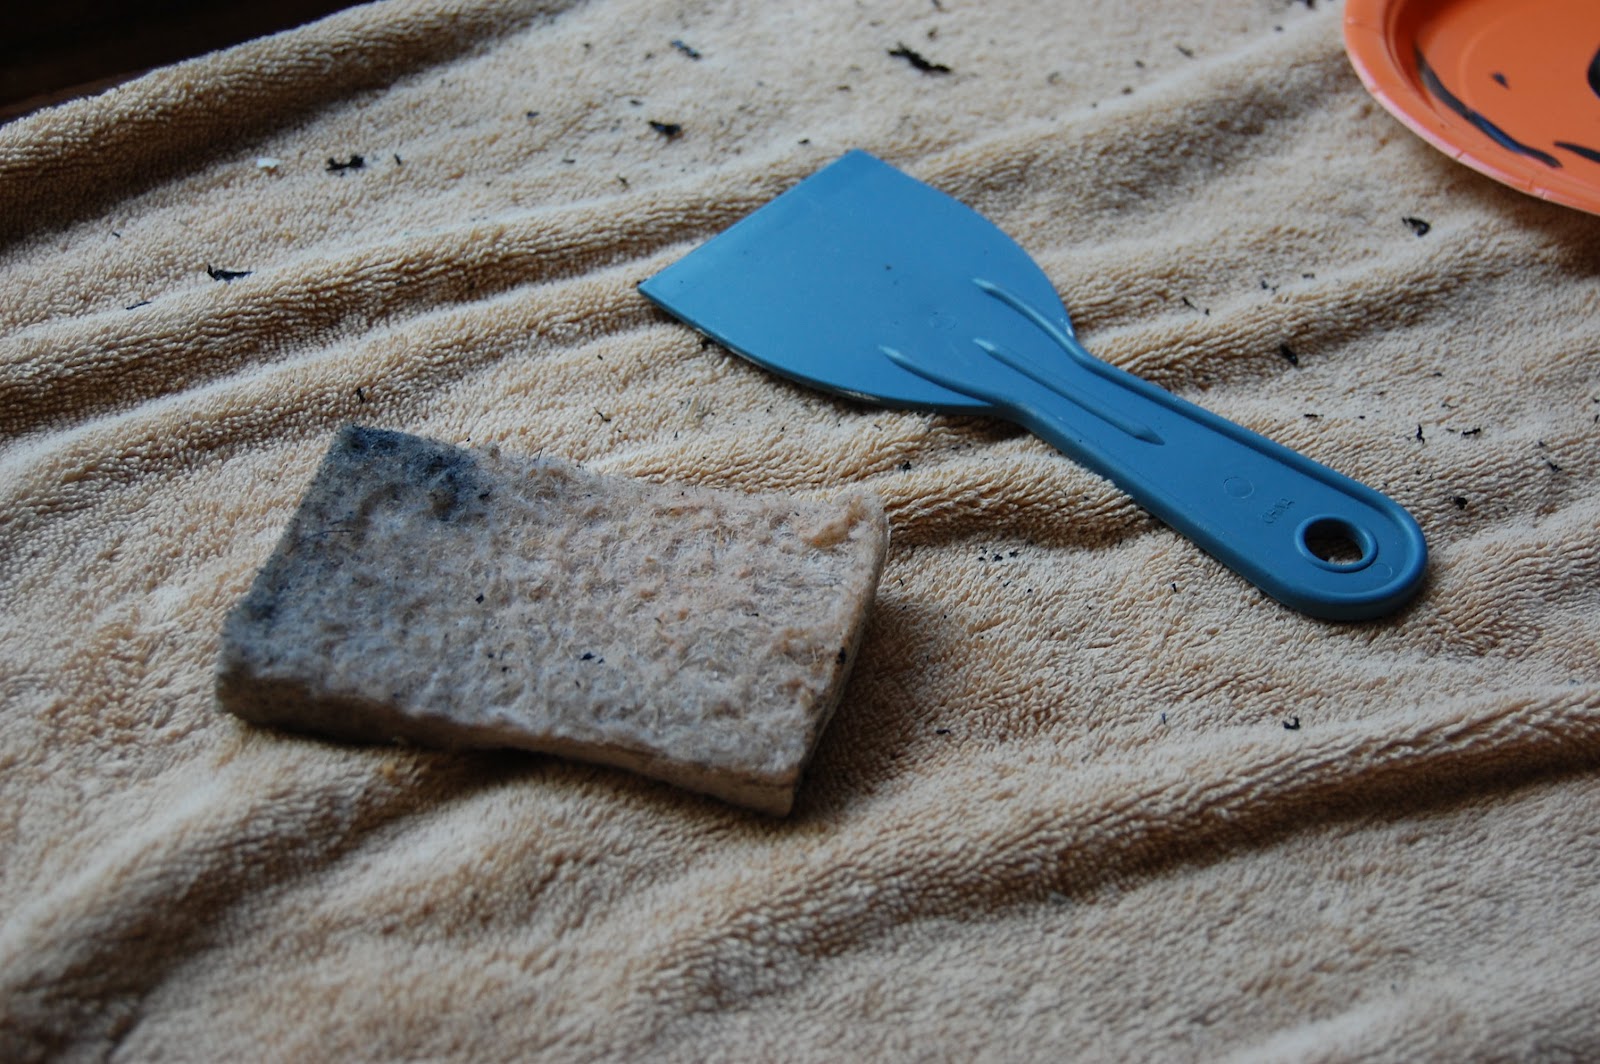
I decided to start over.  Scraping the paint off was easy. I used a wet sponge and paint scraper.  Came off quickly. 


I changed to white.


Complete!  Super easy!


Wednesday, July 25, 2012

Beautifying a Bench!

We woke up one morning to find a leather (actually, pleather: fake leather) bench in our garage.  Turns out my father-in-law found it on the side of the road.  He left it in our garage knowing I might want to do something with.  He was right!  

We thought the leather was real leather, it wasn't.  It was pealing really bad but that was the only problem the bench had.  The frame was very sturdy with very few dings.  We decided all we needed to do was re-upholster the top.


Here is what the bench looked like when it was left in the garage. 


When we realized we could do nothing with the leather we decided to remove it completely.  First I had to pop off the tacking along the bottom.  This was easy but I had to be careful not to chip the wood. 
(I know I keep calling it leather even though it is not real leather)


The leather pulled off very easy.  It was stapled on so every now and then we had to use pliers to pull the staples out that were sticking out.  

A nice foam cushion was hiding.  No need to add anymore foam or replace the foam. 


Here we encountered our first dilemma.  We were hoping to remove the top of the bench from the frame so we could wrap the fabric around the bottom.  However, the top of the bench was one piece and the top could not be removed.  

I was extremely proud of my purchases at JoAnn's!  I found the fabric I wanted, it was $24.99 for 1.25 yards.  The tacking was a kit for 5 yards of tacking for $19.99
So far this project was getting a little out of my budget, then I went to the checkout counter.  The clerk was amazing!  She introduced me to the JoAnn's app for smartphones.  I downloaded it on the spot and she hooked me up with a 50% off for the fabric and a 40% off for the tacking. 
I only spent $24!!!

SIDE NOTE: Get the JoAnn's smartphone app right now!


To attached the fabric we placed it on top and smoothed it out.  We left about 1.5 inch extra fabric around each edge.  Since we could not staple the fabric from underneath, we folded the fabric under and began to staple. 

SIDE NOTE:  Make sure to begin stapling from the edges leaving the corners for last. 

We had problems trying to fold the edges.  Then we had to remember that this is a simple project and shouldn't over-analyze things. We looked at other furniture pieces online and realized a lot of corners aren't perfect, so we tried the best we could.  


I had my handsome assistant (husband) help with the stapling.  I highly recommend 2 people- one person to hold the fabric tight and the other person use the stapler. 


Once the fabric was stapled on I could hammer the tacking on.  This was a simple job.  The tacking hides all the staples and reenforces the fabric to the bench.  

We completed this project in one afternoon and only spent $24!


Yes... that is Madison by the window.  Always working hard! 


Coffee Table- Turning NEW into VINTAGE

Changing my coffee table, making the new look vintage!

As you can see my coffee table didn't match my den.  There weren't any other light wood colors in the room.  This coffee table was a hand-me-down therefore it was FREE (my favorite price). 


I wanted to try something different and funky.  I started with sanding the top of the table with a palm sander, it was quick and easy.  The legs were going to be the hard part...


I wasn't sure what I wanted to do with the legs so I left them for the timing being.  Once the table top was completely sanded down I stenciled the top using 4 different paint colors.  I used small sponge brushes and regular craft paint.  


Believe it or not, the stenciling was easy and it went by fast.  
SIDE NOTE: If you try to stencil and don't like it, you can start over by sanding the table down again.  

Next I wanted to stain the table top.  I had no clue how it would turn out but I was thrilled with the outcome!

I used a dark wood stain to match my side tables in the den.  I used a kitchen rag to apply the stain, remember to wear gloves!  I applied 3 coats of stain.  

SIDE NOTE: Depending on the stain color you may choose to do more or less coats.  This is for you to decide how dark or light you choose to make the stain color.  More coats = darker color

 (I just got out of the shower, looking sexy with my wet hair...)

In between coats make sure sand down the DRY stain with a steel wool pad.  
Be patient, this process takes a few days, or 4 days...


Finally I had an idea for the table legs.  I wanted to "antique" the bottom half of the table. 

I had to sand the legs down by hand because they are curved and a palm sander would not get into all the spaces.  This was a lengthy process but lucky for me I didn't have to sand the legs down completely because I was only painting them not staining them.  

SIDE NOTE: Look at the returned paint at the hardware store for discounted paint.  You might find the  color you want.

I found my paint at Lowes in the returned paint section.  I wanted a creamy-white and I found it for $1.50
I found an antiquing gloss cover that I would use... for the first time ever! I always get nervous trying a new product for fear that I will ruin everything.  I followed the directions on the bottle.


After sanding down the legs (enough so that the paint would stick and not peal) I coated the legs with 2 coats of paint.  

Once the legs were dry I had to sand down areas of the legs to begin the "antiquing look".  To apply the gloss I used a kitchen rag. I had a handy wet towel to use for wiping off excess gloss.  The gloss was easy to work with and it was easy to apply. 

(Painted without sanding or gloss) 
(Sanded and glossed)

After I completed the look I wanted I applied 2 coats of polyurethane
(gloss finish for the top of the table and satin finish for the legs)

Finally! Complete and it matches!!