We woke up one morning to find a leather (actually, pleather: fake leather) bench in our garage. Turns out my father-in-law found it on the side of the road. He left it in our garage knowing I might want to do something with. He was right!
We thought the leather was real leather, it wasn't. It was pealing really bad but that was the only problem the bench had. The frame was very sturdy with very few dings. We decided all we needed to do was re-upholster the top.

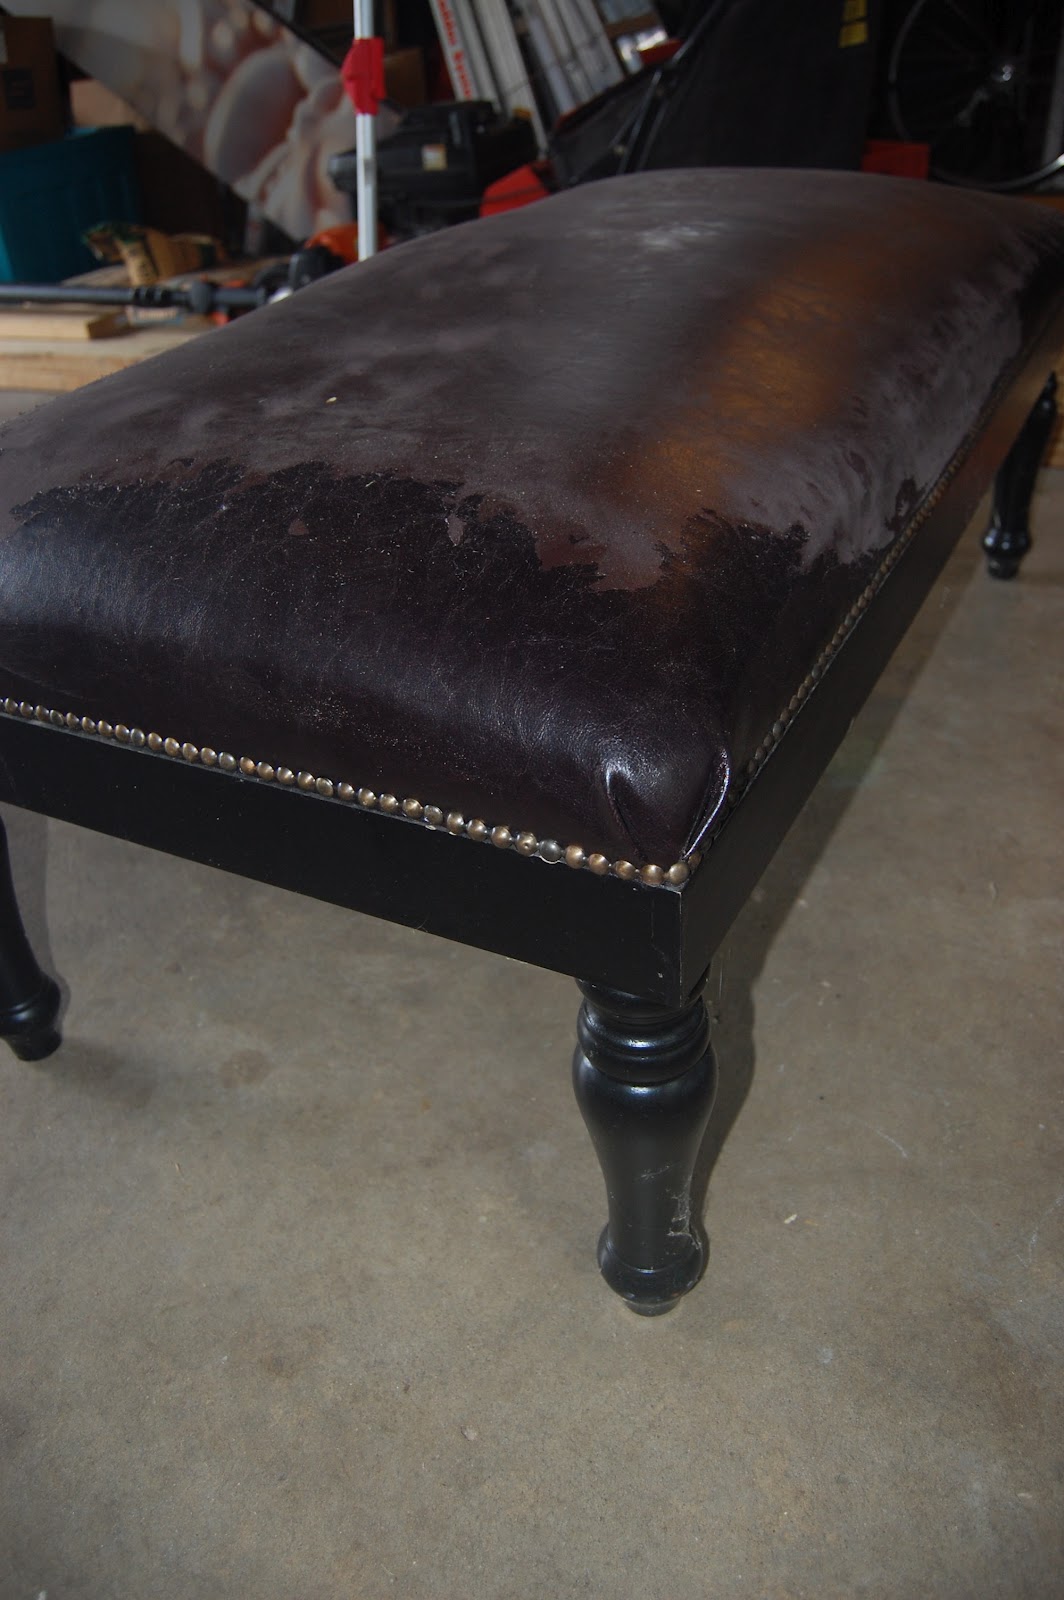
Here is what the bench looked like when it was left in the garage.
When we realized we could do nothing with the leather we decided to remove it completely. First I had to pop off the tacking along the bottom. This was easy but I had to be careful not to chip the wood.
(I know I keep calling it leather even though it is not real leather)


The leather pulled off very easy. It was stapled on so every now and then we had to use pliers to pull the staples out that were sticking out.

A nice foam cushion was hiding. No need to add anymore foam or replace the foam.

Here we encountered our first dilemma. We were hoping to remove the top of the bench from the frame so we could wrap the fabric around the bottom. However, the top of the bench was one piece and the top could not be removed.
I was extremely proud of my purchases at JoAnn's! I found the fabric I wanted, it was $24.99 for 1.25 yards. The tacking was a kit for 5 yards of tacking for $19.99
So far this project was getting a little out of my budget, then I went to the checkout counter. The clerk was amazing! She introduced me to the JoAnn's app for smartphones. I downloaded it on the spot and she hooked me up with a 50% off for the fabric and a 40% off for the tacking.
I only spent $24!!!
SIDE NOTE: Get the JoAnn's smartphone app right now!


To attached the fabric we placed it on top and smoothed it out. We left about 1.5 inch extra fabric around each edge. Since we could not staple the fabric from underneath, we folded the fabric under and began to staple.
SIDE NOTE: Make sure to begin stapling from the edges leaving the corners for last.
We had problems trying to fold the edges. Then we had to remember that this is a simple project and shouldn't over-analyze things. We looked at other furniture pieces online and realized a lot of corners aren't perfect, so we tried the best we could.

I had my handsome assistant (husband) help with the stapling. I highly recommend 2 people- one person to hold the fabric tight and the other person use the stapler.


Once the fabric was stapled on I could hammer the tacking on. This was a simple job. The tacking hides all the staples and reenforces the fabric to the bench.
We completed this project in one afternoon and only spent $24!


Yes... that is Madison by the window. Always working hard!

No comments:
Post a Comment